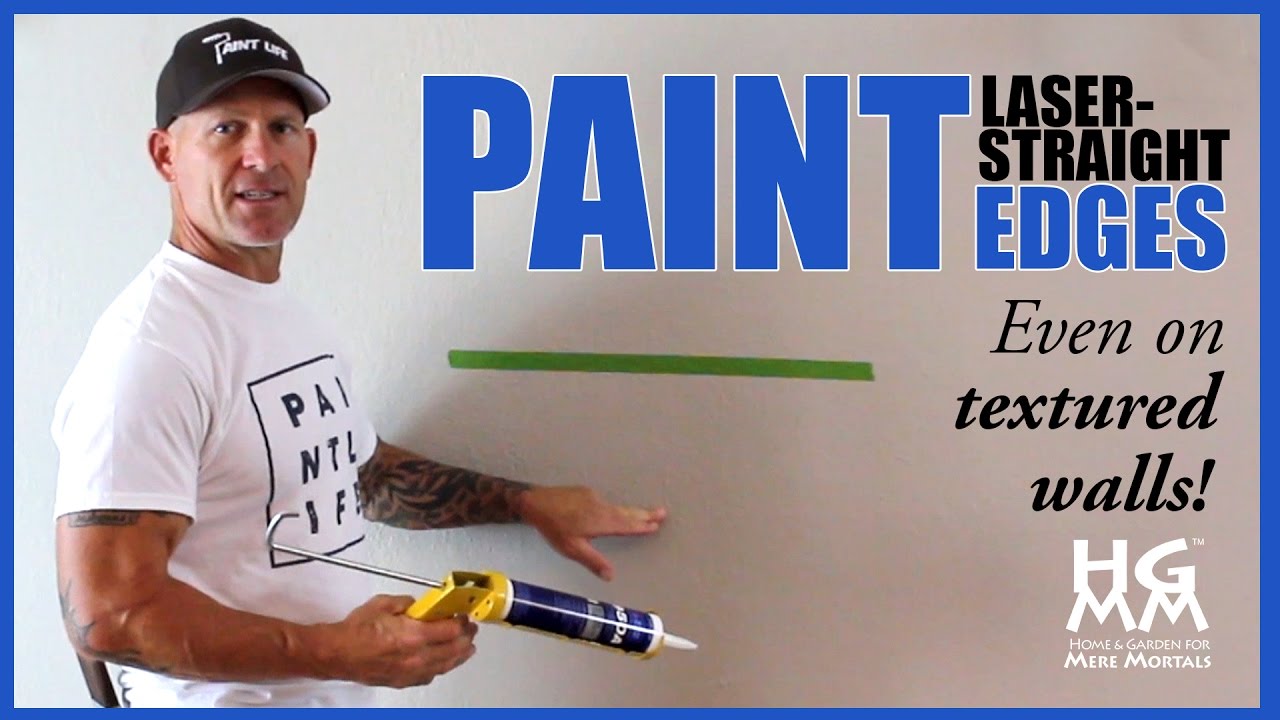
How To Paint Straight Lines Perfectly
Unleash Your Creative Genius with MuseMind: Your AI-Powered Content Creation Copilot. Try now! 🚀
Have you ever attempted to paint a straight line on a wall, only to end up with a messy, uneven edge? We've all been there. But fear not, my fellow DIY enthusiasts, because today I'm going to share with you a technique that will revolutionize the way you paint. Get ready to achieve laser-sharp edges like never before!
Unleashing the Power of Frog Tape
When it comes to achieving straight lines, not all tapes are created equal. Enter Frog Tape, the superhero of the painting world. Unlike regular masking tape that allows paint to bleed through, Frog Tape has a magical property that prevents bleeding and ensures clean, crisp lines. It's like having a professional painter by your side, guiding you every step of the way.
But here's the secret sauce: combining Frog Tape with a little bit of caulking. Yes, you heard me right. Caulking is the unexpected hero in this story, providing an extra layer of seal to guarantee perfection. So let's dive into the process and see how this dynamic duo works their magic.
Step 1: Frog Tape Application
Start by applying Frog Tape to the area where you want your straight line. Whether it's a stripe on a bedroom wall or the trim meeting the wall, Frog Tape is your trusty companion. Its advanced technology ensures that even on rough surfaces like textured walls, it will deliver outstanding results.
Step 2: The Caulking Revelation
Now, here's where the real magic happens. Take your trusty caulking gun and apply a small bead of clear caulking along the edge of the Frog Tape. This caulking will act as an additional seal, ensuring that no paint seeps through and ruining your perfect line. Remember, the key is to not let the caulking dry before you paint over it.
Step 3: The Brushstroke of Genius
With your caulking still wet, it's time to start painting. But here's a pro tip: instead of using a roller, opt for a paintbrush. This way, you can carefully brush over the tape without pushing the paint underneath it. The brush will glide smoothly, covering the area with precision and finesse.
Step 4: The Big Reveal
Now comes the moment of truth. Before the paint and caulking dry, gently remove the Frog Tape. And voila! Behold the masterpiece you've created—a laser-straight line that defies the laws of physics. Even on a rough, textured wall, your line will stand proud and perfect.
The Extra Mile: Frog Tape vs. Masking Tape
While Frog Tape is the ultimate champion in delivering flawless lines, you might be wondering if there's a more budget-friendly alternative. Fear not, my thrifty friends, for I have a solution for you. Masking tape, paired with clear caulking, can still yield impressive results. It may not have the same foolproof guarantee as Frog Tape, but with a little finesse and attention to detail, you can achieve those straight lines without breaking the bank.
Embrace Your Inner Picasso
So there you have it, my fellow painters. Armed with Frog Tape, caulking, and a touch of creativity, you now possess the power to create stunning, laser-sharp edges on any surface. No longer will you be haunted by the fear of uneven lines or bleeding paint. Embrace your inner Picasso, and let your walls become your canvas.
But wait, dear readers, before I bid you adieu, I must remind you of the importance of leaving your comments below. Share your own techniques for achieving straight lines and let us all become better painters together. Remember, the journey to perfection is a collaborative one.
Now, go forth and paint with confidence, for the world is your canvas, waiting to be transformed by your artistic touch. Happy painting!

Related Recaps
- How Germans sound in real life
- Intip Keseruan Liburan Chris Hemsworth dan Sang Istri di Bali, Hingga Nyobain Motoran Keliling Bali
- Cleaning yeezys with fz150 #fz150 #foamzone150 #shoedoc #shoecleaner
- How I Turned My Pain into A Powerful Global Movement | Nazma Khan | TEDxOcala
- Large crowds take to LA streets for May Day parade