How To Install Ring's New Car Cam
Unleash Your Creative Genius with MuseMind: Your AI-Powered Content Creation Copilot. Try now! 🚀
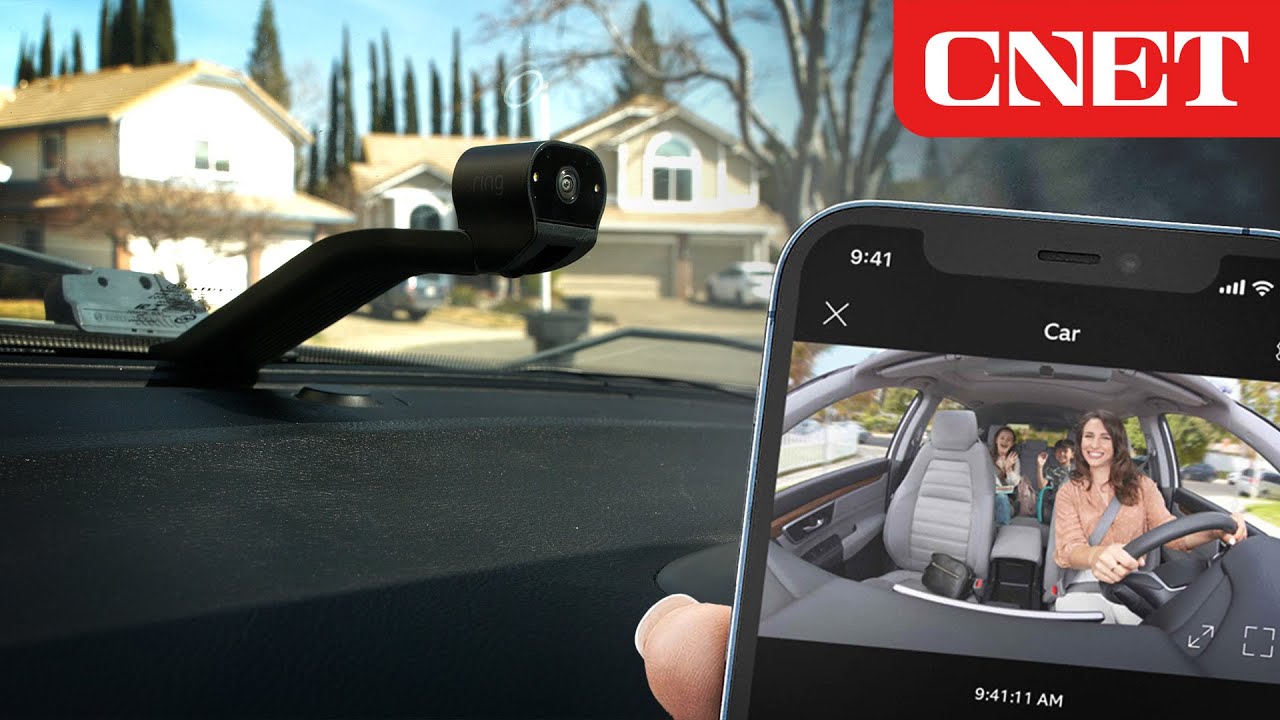
Installing the Ring Car Cam: Your Ultimate Guide
Welcome, readers, to this ultimate guide on installing the Ring Car Cam! Buckle up and get ready for a thrilling ride as we delve into the world of dual facing cameras, live video feeds, and on-the-go LTE connectivity. But before we hit the road, make sure to hit that like button and subscribe to Cnet's YouTube channel for more exciting how-to videos like this one. You won't want to miss out!
Section 2: Is Your Car Compatible?
The Road to Compatibility
First things first, my fellow car enthusiasts. Before embarking on this installation journey, it's crucial to ensure your vehicle is compatible with the Ring Car Cam. The Car Cam draws its power from the OBD2 port, that nifty little onboard diagnostic interface located on the left-hand side of your steering wheel. Fear not, for most automobiles built after 1996 come equipped with this port. But, if you're still feeling uncertain, fear not! I've provided a handy link in the video description where you can check if your beloved four-wheeled companion is compatible.
Section 3: Power Up and Park
Getting Ready for Installation
Now that you've confirmed compatibility, let's shift gears and prepare for the installation process. To begin, make sure your car is parked within range of your home Wi-Fi network. After all, we need that connection for a seamless installation experience. Inside the box, you'll find the Car Cam, accompanied by a trusty USB-C power cable. Plug one end of the cable into the camera and the other end into the OBD2 port adapter. It's time to Harness the Power!
Section 4: Lights, Camera, Action!
Making Your Car Cam Come Alive
All systems are go, ladies and gentlemen! After the Car Cam is powered on, you'll witness an awe-inspiring sight - the light pulsing with a vibrant shade of green. If, by some stroke of misfortune, the light doesn't come alive, try starting your car. Remember, we're tapping into the energy of your trusty car battery here. Once that green light is pulsating, it's showtime!
Section 5: App-Solute Excitement
Setting Up the Car Cam in the Ring App
Fasten your seatbelts, folks, because we're diving into the exciting world of app setups. But before we permanently install the Car Cam in your vehicle, let's set it up in the Ring app. It's always wise to conduct a trial run, just in case any kinks need ironing out. Begin by downloading the Ring app if you haven't already. If you need to create an account, go ahead and do so. Once you're all set up, click on "Set up a device" and select "Cars."
Section 6: Scanning Your Way to Success
Unleashing the Magic of QR Codes
Get ready to unleash the magic of QR codes! The app will prompt you to scan the QR code located on the Car Cam. It's like performing a spell with your phone's camera. Once the QR code is scanned, the app will guide you through each step of the installation process. But wait, there's more! The app even wants to know where you usually park your car at night. Talk about attention to detail!
Section 7: Connecting the Dots...and Wi-Fi
A Symphony of Connections
Are you ready to connect the dots and your Car Cam to the magnificent world of Wi-Fi? Great! Keep following the prompts, and don't forget to start your car if it's not already running. We're on a roll here! When prompted, connect to the Ring Wi-Fi network. Picture yourself conducting an orchestra of connectivity. Once you're connected to your home Wi-Fi network, rejoice! Your Car Cam is now operational, and you're the proud owner of a technologically advanced vehicle.
Section 8: The Final Lap
Securing Your Car Cam and Hitting the Road
Congratulations, my friend! You've reached the final lap of this installation marathon. Make sure the cable is neatly tucked away, running along a clean path, and pulled tight. We don't want any dangling wires ruining the aesthetics of your dashboard. Now, gather the excess cable on the right-hand side, ensuring a sleek and tidy appearance. The Car Cam is designed to slide effortlessly into the gap between your dashboard and windshield. If needed, the handy spacer included in the box can provide a perfect fit. Clean your windshield with the alcohol cloth provided, peel off the sticker from the Car Cam, and firmly stick it in place. Let's hope it holds up in those sweltering summer temperatures!
Section 9: A Journey with Endless Possibilities
Unlocking the Potential of the Car Cam
Congratulations, my fellow road warriors! Your Car Cam is now securely installed and ready to capture the thrilling journeys that lie ahead. Adjust the angle of the camera to capture the best shots, and for moments when you desire privacy, flip the Privacy cover to block the back-facing camera. It's time to unlock the full potential of your Car Cam, from motion detection to motion alerts and live streaming. Enjoy the ride, and stay tuned for more exciting adventures from Cnet!
And that, dear readers, concludes our ultimate guide on installing the Ring Car Cam. We hope you're revved up and ready to hit the road with this innovative device by your side. If you have any questions or simply want to share your installation experience, don't hesitate to leave them in the comments below. And be sure to check out Antoine Goodwin's Cnet review of the Ring Car Cam for further insights. Safe travels, and happy driving!
Music fades out