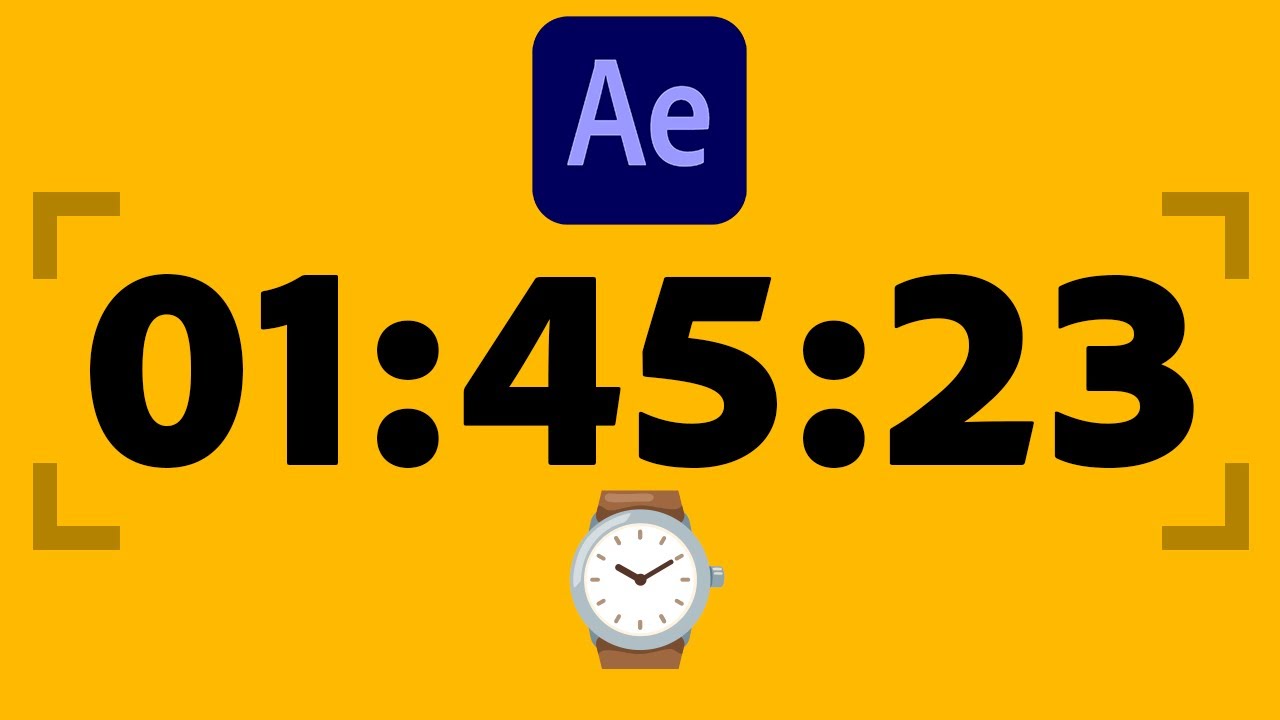
After Effects: Countdown/Countup Timer Tutorial ⏱ Hours, Minutes And Seconds
Unleash Your Creative Genius with MuseMind: Your AI-Powered Content Creation Copilot. Try now! 🚀
In this tutorial, I'm going to show you how to create a hour timer with hours, minutes, and seconds in After Effects. But before we dive in, let's step away from the text tool for a moment. Trust me, it'll be worth it.
Getting Started
To start, let's left click and drag the text tool to create a text layer. Type in "00:00:00" and customize the font if you'd like. I personally love using the Adobe Clean font, set to a size of 629 pixels.
Now, let's drag this text layer to the center of the composition. To do this quickly, press Ctrl+Alt+Home and watch your text align perfectly.
Adding Functionality with Slider Control
Now, we need to add some functionality to our timer. Let's get ourselves a slider control. Simply drag the slider control to the text layer.
Next, open up the text layer by clicking on the arrow next to it. Hold down the Alt or Option key and left click on the stopwatch icon. This will bring up the expression box.
Here's a time-saving tip: you can copy and paste the expression code from the description below and apply it here.
But wait! Before we proceed, let's make a quick adjustment. Go to "File" and then "Project Settings". Change the expression engine to the legacy engine. Press OK.
Making the Timer Work
Now that we have our expression in place, it's time to make this timer work. All we need to do is change the slider control value.
Increase the number to add more time. For example, if you want to add 6 minutes, simply type in "360" (6 minutes * 60 seconds). If you want to add 30 minutes, type in "1800". And if you want a full hour, type in "3600".
But hold on! Currently, nothing will happen because we haven't added any keyframes yet. Let's animate this timer.
Animating the Timer
To animate the timer, left click on the stopwatch icon next to the expression. Now, move to a later point in time in your composition timeline. Set the value of the slider control to zero.
And just like that, you'll see the timer counting down from an hour all the way down to zero. It's like magic!
To see the keyframes, open up the effects tab and click on the slider control. There, you'll find the two keyframes.
If you want the animation to be slower, move the keyframes further away. This will slow down the countdown. If you want it to be quicker, move the keyframes closer together. The choice is yours! You can even swap the keyframes to make it count up from zero to one hour if you'd like.
Before we wrap things up, here's one important step. Go to "Composition" and then "Composition Settings". Make sure to set the duration of your project to one hour. This will ensure that your timer counts down correctly.
Set the first keyframe at the beginning and the last keyframe at the end of the composition.
And there you have it! You've successfully created a hour timer in After Effects. Now, go ahead and impress your friends with your newfound animation skills.
If you're hungry for more creative effects, be sure to click on the screen to check out our next video on how to create a digital typewriter effect. Let your creativity soar and enjoy the possibilities that After Effects has to offer!
So, get ready to unleash your imagination, have fun, and create some stunning visual effects with After Effects. Remember, the only limit is your creativity!
Related Recaps
- HCK'S Partnership Of Achievers Gala Night 2023 - Event Video
- Very Asian Foundation delivers diverse books to two St. Paul schools
- Merry Christmas & Happy New Year REMIX🎅 Liên Khúc Nhạc Đón Giáng Sinh Noel Sôi Động 2024, Nhạc Tết
- Tối Ở Trong Nhà Mở Kinh Phật 15 Phút Nhẹ Lòng Làm Gì Cũng Gặp Hên Phật Tổ Độ Trì Nhận Lộc Trời Ban
- LA RIVERS Y ROIER PIENSAN IGUAL#rivis #roier