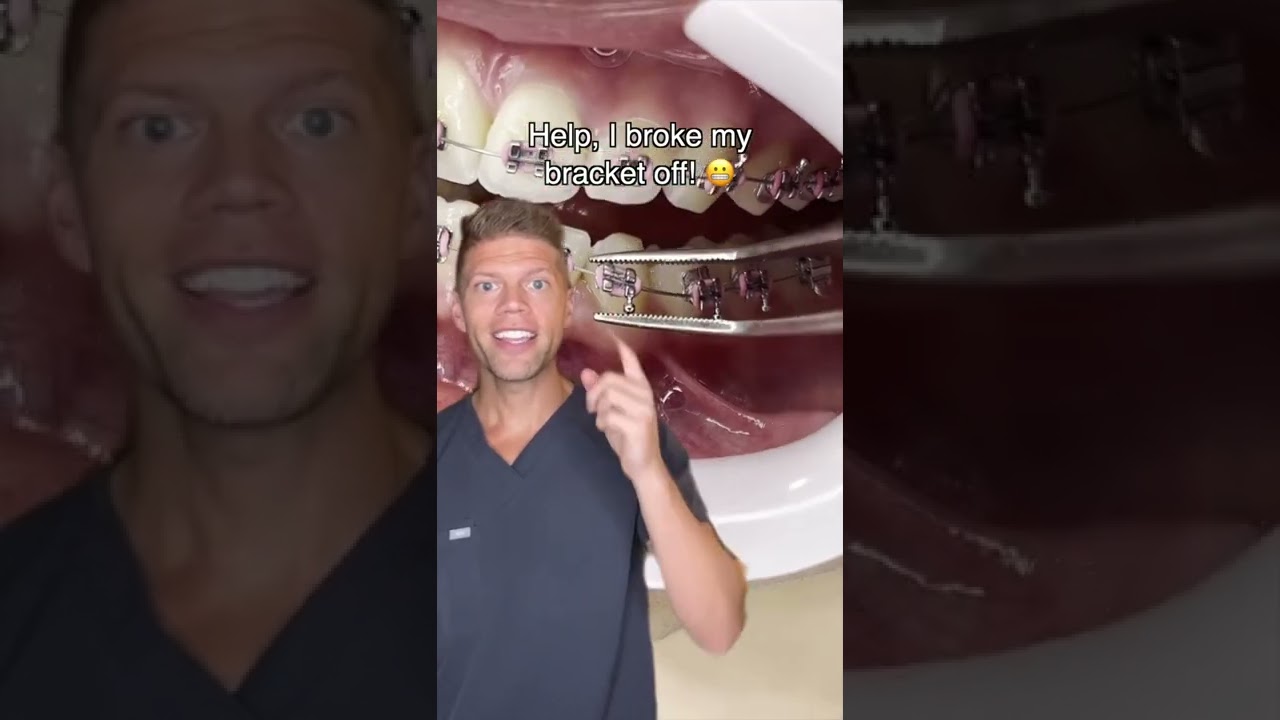
Broken Bracket? 🤕 Here’S What Your Orthodontist Will Do…
Unleash Your Creative Genius with MuseMind: Your AI-Powered Content Creation Copilot. Try now! 🚀
Having a broken bracket on your tooth can be a real pain in the mouth. But fear not! In this guide, we will show you how to fix that pesky bracket and get your smile back on track. So, grab your dental drill and let's get started!
Step 1: Removing the Bracket from the Wiring Mount
The first order of business is to gently remove the bracket from the wiring mount. Now, this might seem like a daunting task, but with a steady hand and a little finesse, you'll have that bracket off in no time. Just make sure to use the right tools for the job to avoid any unnecessary damage.
Step 2: Removing the Glue from Your Tooth
Ah, glue. The mortal enemy of orthodontic appliances. To remove the glue from your tooth, we suggest using a dental drill. Now, before you start huffing and puffing about drills and dentistry, let us assure you that it's not as scary as it sounds. With the right technique, the dental drill can delicately remove the glue without causing any harm to your precious pearly whites.
Step 3: Etching, Priming, and Drying the Tooth
Now that the glue is out of the way, it's time to prep your tooth for the bracket's grand return. First, we need to etch the tooth's surface to create a rough texture for the glue to adhere to. Think of it as giving your tooth a little makeover, making it the perfect canvas for the bracket. Next, we prime the tooth, ensuring that the adhesive will stick like glue (pun intended). Finally, we dry the tooth thoroughly, leaving no room for moisture to ruin our hard work.
Step 4: Placing the Bracket in the Center of Your Tooth
Ah, the moment of truth has arrived. It's time to place the bracket back where it belongs, right in the center of your tooth. Precision is key here, so take your time and make sure the bracket is perfectly positioned. Remember, this is your opportunity to create the symmetrical smile you've always dreamed of, so don't rush it.
Step 5: Removing Excess Glue and Hardening with a High-Intensity Light
With the bracket in place, it's time to tidy things up. Remove any excess glue that may have escaped during the placement process. We want your tooth to look magazine-ready, after all. Once the excess glue is gone, it's time for the secret weapon: a high-intensity light to harden the glue. This is when the magic happens, turning your bracket and tooth into a strong and solid union that can stand the test of time.
Step 6: Tying the Wire to the Brackets
Last but not least, we bring the wire back into the equation. Carefully tie the wire to the brackets, ensuring a secure fit. This will provide the necessary tension and support to guide your teeth to their rightful positions. Think of it as a gentle nudge in the right direction, bringing you one step closer to that perfect smile.
In Conclusion
And just like that, your broken bracket dilemma has been resolved. No need to panic or curse the dental fates. With a little know-how and a touch of determination, you can fix that broken bracket and be on your way to dental success. So, gather your tools, put on your brave face, and get ready to tackle the challenge head-on. Your smile will thank you!
Related Recaps
- 'It can be anybody out here': Witness describes moment shooting broke out in downtown Atlanta
- The Culprit (2022)
- Yeh Rishta Kya Kehlata Hai: Abir Ki Custody Ke Liye Abhinav Aur Abhimanyu Aaye Aamna Samna |
- Phillies vs. Braves NLDS Game 2 Highlights (10/9/23) | MLB Highlights
- 1804.23 Oração Poderosa da Manhã