Cara Bikin Banjir Di Sakira School Simulator
Unleash Your Creative Genius with MuseMind: Your AI-Powered Content Creation Copilot. Try now! 🚀
Welcome back, my friends, to another exciting tutorial on my YouTube channel. Today, I'm going to show you how to create a flood. Yes, you heard that right! Get ready to make a splash with this mind-blowing tutorial.
Section 1: The Art of Editing
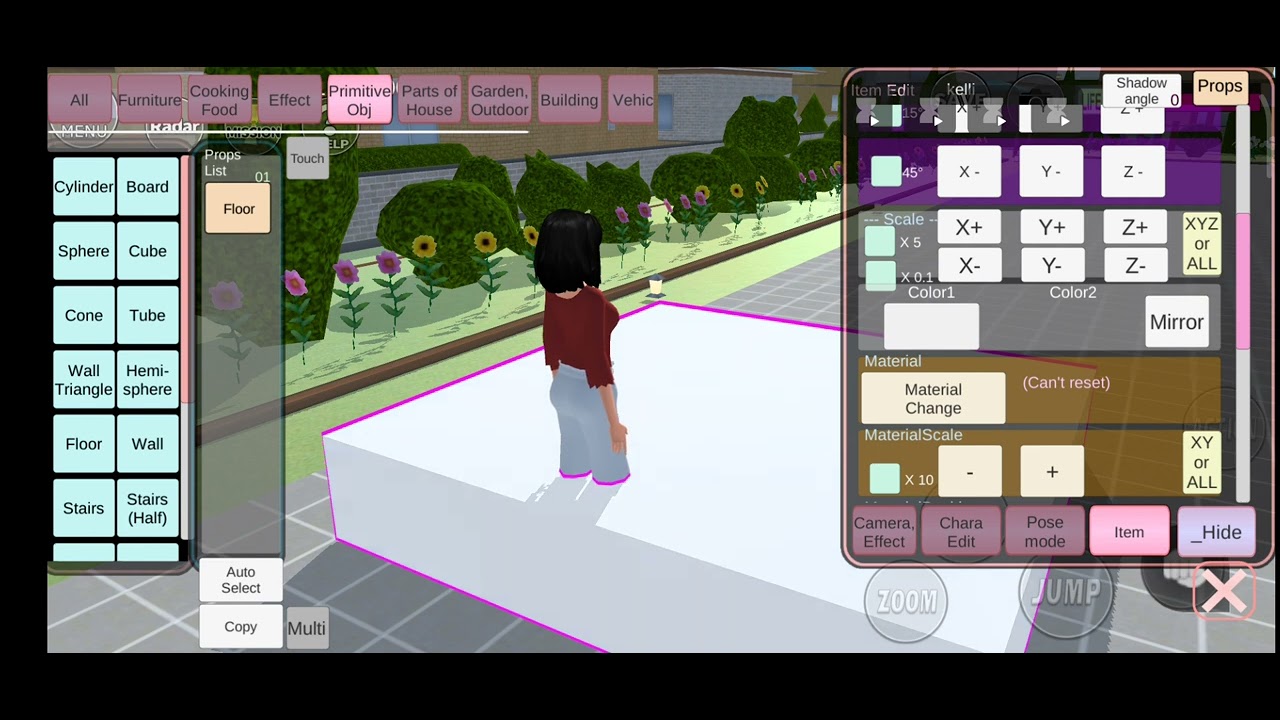
To kick things off, let's dive into the world of editing. Press the "Edit Item" menu and then select "Props." Once you've done that, click on "Primitive Objects" and choose "Wall." But wait, hold your horses! We're not actually going to create a wall. Apologies for the confusion. Instead, click on the cross in the top right corner that says "Reset Item."
Section 2: Reaching New Heights
Now that we've cleared that up, let's move on to the next step. Scroll down until you find the word "Telur." Don't check the box next to it. Instead, scroll up until you see something that catches your eye. Click on "XYZ R A L L," and here's where the magic happens. The "Y+" option allows you to adjust the height. How high can you go? It's up to you! For this tutorial, let's make it sky-high.
Section 3: Expanding Your Horizons
Alright, now that we've reached new heights, let's widen our flood. To do this, simply click on "X Plus" and watch as your flood expands before your eyes. How wide do you want it? The choice is yours! And if you're feeling adventurous, why not experiment with different materials to change the color? Click on "Material" and let your creativity flow.
Section 4: Embrace the Flood
Congratulations, my friends! You've successfully created a flood. Whether you prefer a muddy flood or a glossy one, the choice is yours. If you want to create a muddy flood, find the brown color and let the mud flow. But if you're more inclined towards a watery flood, simply click on the cross in the bottom right corner to make it happen.
Now, let's take it a step further. Enter the flooded house and witness the chaos unfold. Everything is submerged in water, creating a truly immersive experience.
Conclusion: Let Your Imagination Run Wild
And there you have it, my friends! This concludes our tutorial on creating a flood. I hope you had as much fun as I did. But before I go, I have a few requests for you. Don't forget to like, comment, and subscribe to my channel. And make sure to hit that notification bell, so you never miss out on any of my future tutorials or wacky adventures.
Thank you for joining me today, and until next time, stay creative and keep exploring the endless possibilities of your imagination. Bye bye!